"Wine With Friends" DIY Wine Coasters
Confession: I have been on the hunt for the perfect coasters for quite some time now. Sounds silly, doesn’t it? Cute coasters are surprisingly hard to come by, though. You know what I always say? If you can’t find it, make it! That is just what I did, and you can too. This DIY wine coaster project is easy, fun and is sure to be a hit at your next get-together.
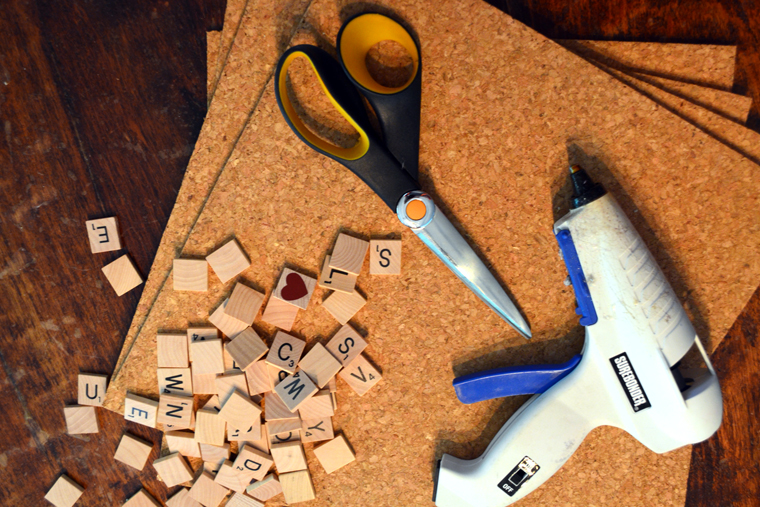
First, gather your supplies. You’ll need some letter-stamped game tiles, cork tiles, a glue gun and some nice sharp scissors. I scored my game tiles from Paper Crane Wishes on Etsy. They allow you to order only the exact letters you need, which is wonderful for a DIY wine coaster project like this!
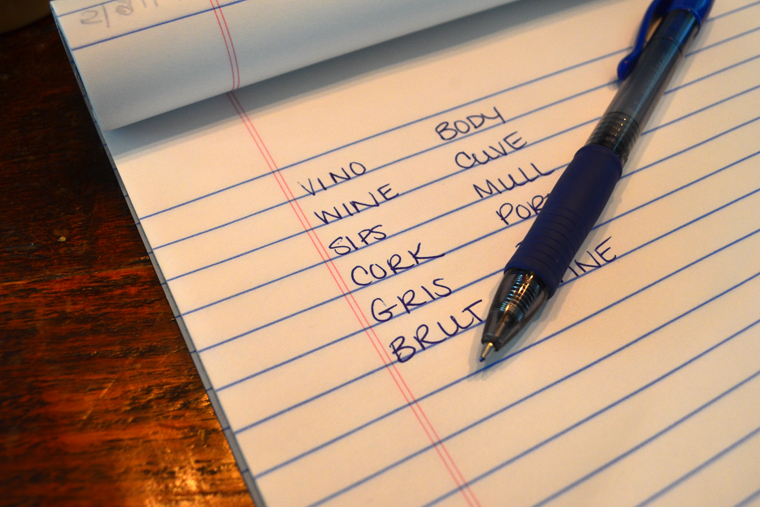
Since I wanted to know exactly what letters to order, my first step was actually deciding what words I wanted to use on my coasters. I wanted a wine theme and figured I would do four four-letter words per coaster. With the help of our good friend Google, I found some websites that had glossaries of wine terms. I looked for four-letter words, wrote down my favorites, tallied up the letters and put in my order with Paper Crane Wishes.
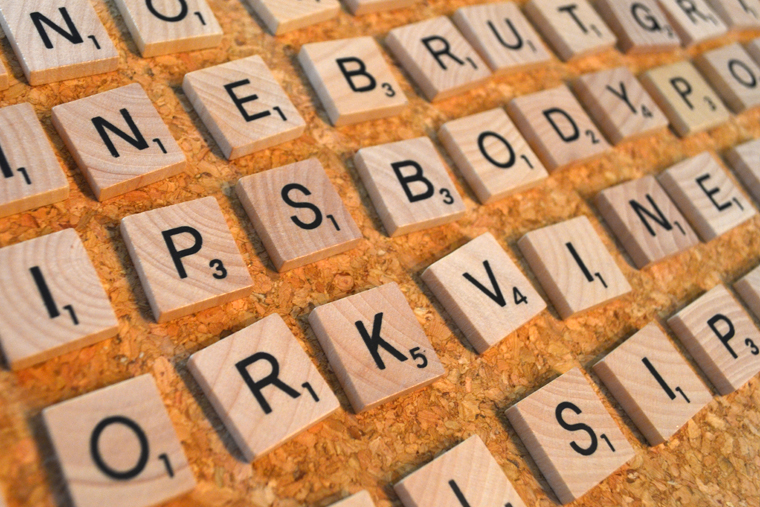
Once the tiles arrived and I had all of my supplies, I got to work. First, I arranged all of the tiles out and spelled all of my wine-themed words so I could play with spacing and make sure I had all of the correct letters.
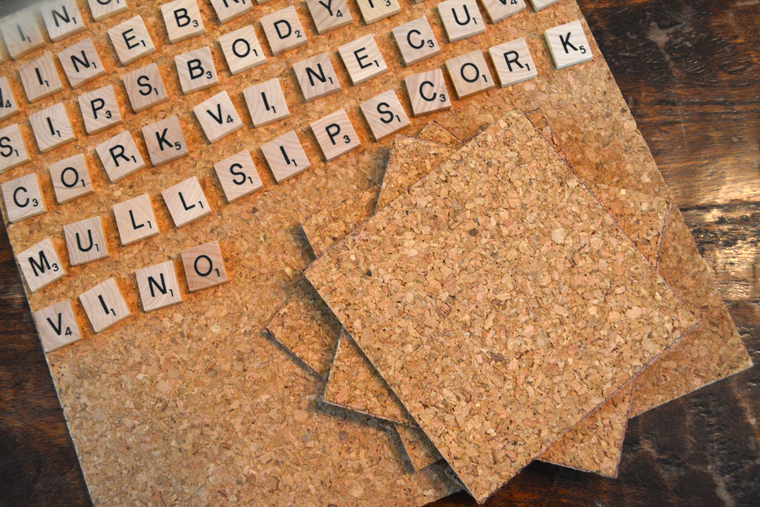
The next step was to measure and cut my cork squares. I purchased 12″x 12″ cork tiles from a craft store. From those tiles I measured and cut four 4″ squares. These would become my coasters.
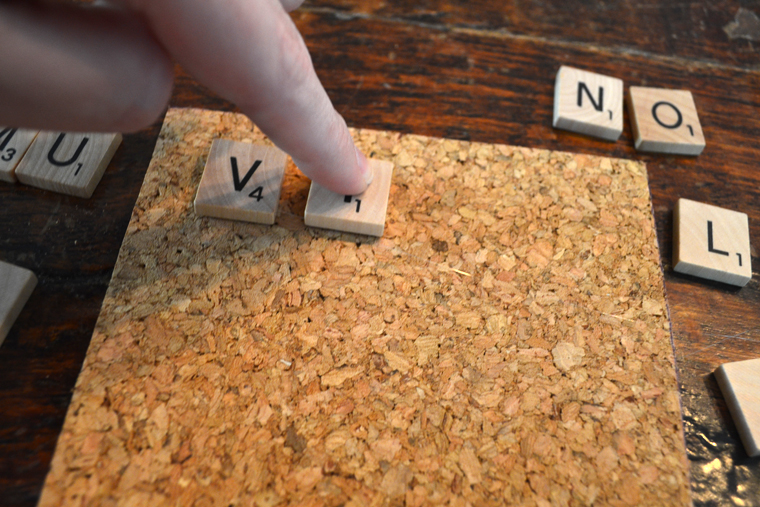
The next step was to work with each tile, one-by-one, and carefully place a dot of hot glue on the back before positioning them on the cork. You have to work quickly but carefully, as the glue sets incredibly quickly on these materials. Once you place your tile it’s not going to budge! Keep working letter by letter until your four DIY wine coasters are complete!
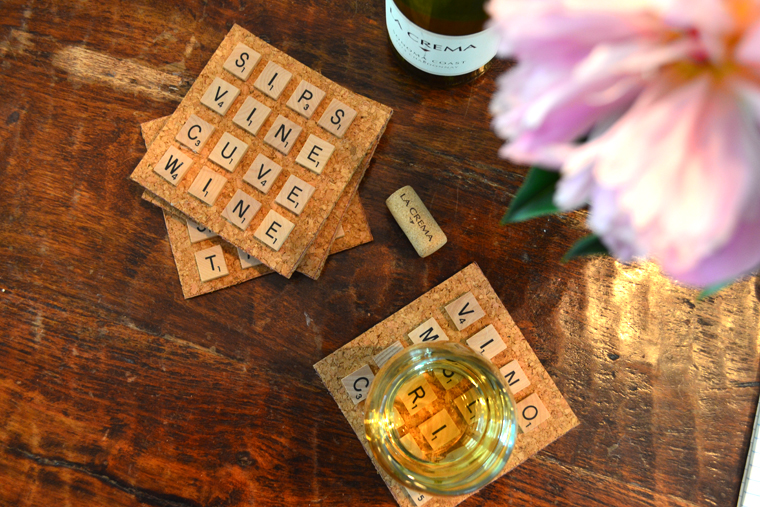
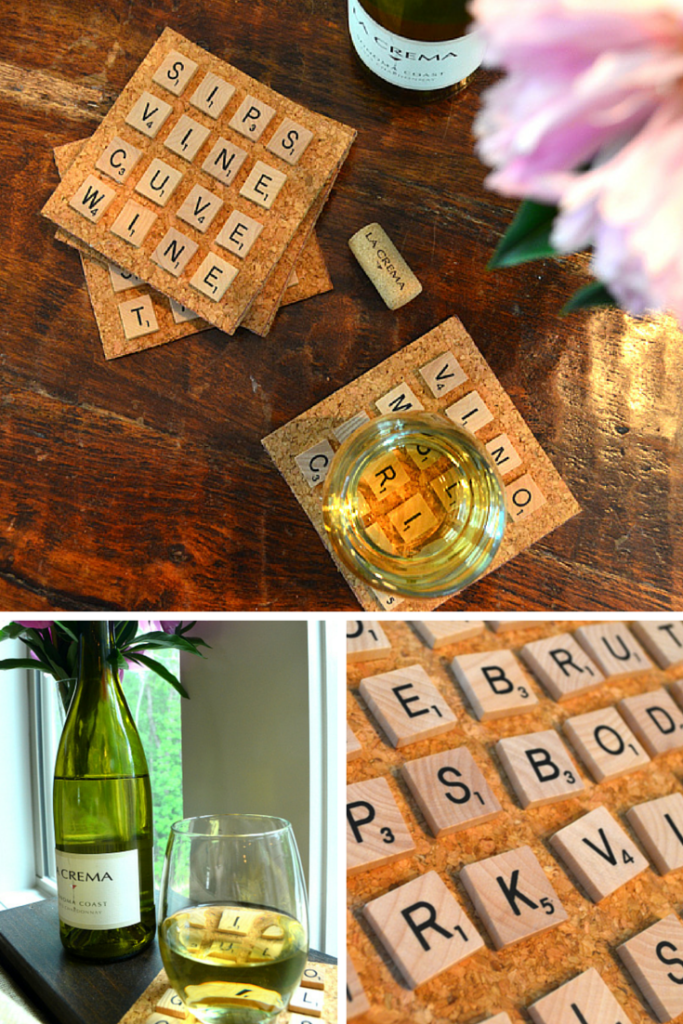
The wine-themed words are perfect for my beverage of choice, of course! These coasters are beautiful, fun, and functional! The cork is absorbent and keeps surfaces protected, and it also fits right in to the wine theme! I hope you liked this little project. Please come visit me over on Camp Makery for more DIY, entertaining and home decor fun!
Share the DIY Love on Pinterest!



Comments