Vintage Style Marquee Lights Centerpiece
I recently helped host a beautiful and fun wine tasting brunch party at Richard’s Grove in Windsor, California featuring delicious and easy farm-to-table focused foods that complemented La Crema’s stunning wines.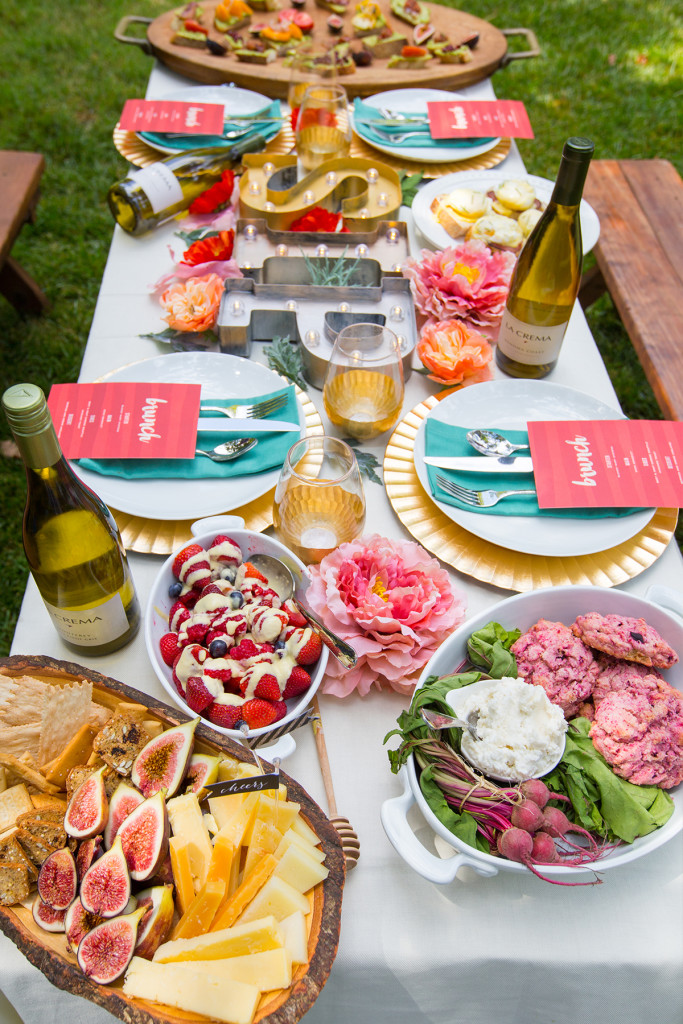
To highlight our fabulous recipes, we wanted gorgeous decorations that weren’t too complicated or stuffy, and I was dying to incorporate a fun vintage metal inspired look using some awesome marquee lights I found at Joann Fabrics.
To make these lights, you’ll need:
- Marquee lights in whichever letters you’re spelling out (“SIP” is exceptionally cute for a wine tasting party).
- Acrylic paint — I used Martha Stewart Metallic Acrylic Paint in gold, rose gold, and champagne
- Screwdriver
- Foam brushes
- Paste Wax, optional
- Wax brush, optional
Insider’s Tip: When buying marquee lights, note that there are generally three types of lights available for purchase — smaller battery operated cardboard lights that are ready to be decorated, larger battery operated metal lights that come with the lightbulbs already in place, and plug-in lights. While it involves a few small extra steps, I went for the larger lights because I wanted them to be a striking centerpiece on a large picnic table. If your table is smaller, you can definitely use the cardboard lights, and skip the first step below. I passed on the plug-in variety altogether because I wanted to be able to use the lights outside in an area that didn’t have electricity.
First, you’ll need to remove the lights from your letters so you don’t get paint all over them. The lights from Joann Fabrics (in the idea market section) have lights that pop out easily (and aren’t glass, a nice bonus for outdoor parties). Be sure to set the bulbs and string of lights aside in a place you won’t lose them!
Next, you’ll need to add your paint. Depending on the base color of your light, you’ll need to add up to three coats of paint. I actually could only find black lights in the letters I needed when I purchased them, and the black took a lot of coats. The silver and white lights, which I’ve used on other occasions, took one coat to look fabulous.
I used long brushstrokes in one direction to give the letters a brushed metal look, and didn’t sweat it too much if it was imperfect (helps to capture the vintage look!). Let dry completely before adding additional coats to get the coverage you’d like.
When the letters are dry, I applied a thin layer of paste wax over them with a boar bristle brush, buffing in small strokes. This helps prevent chips in the paint, and is a completely optional step. If you’re going for a more vintage feel, sand off a bit of paint in a few places, like I did! These are striking and lovely, they look great with a little bit of wear, like a vintage sign would.
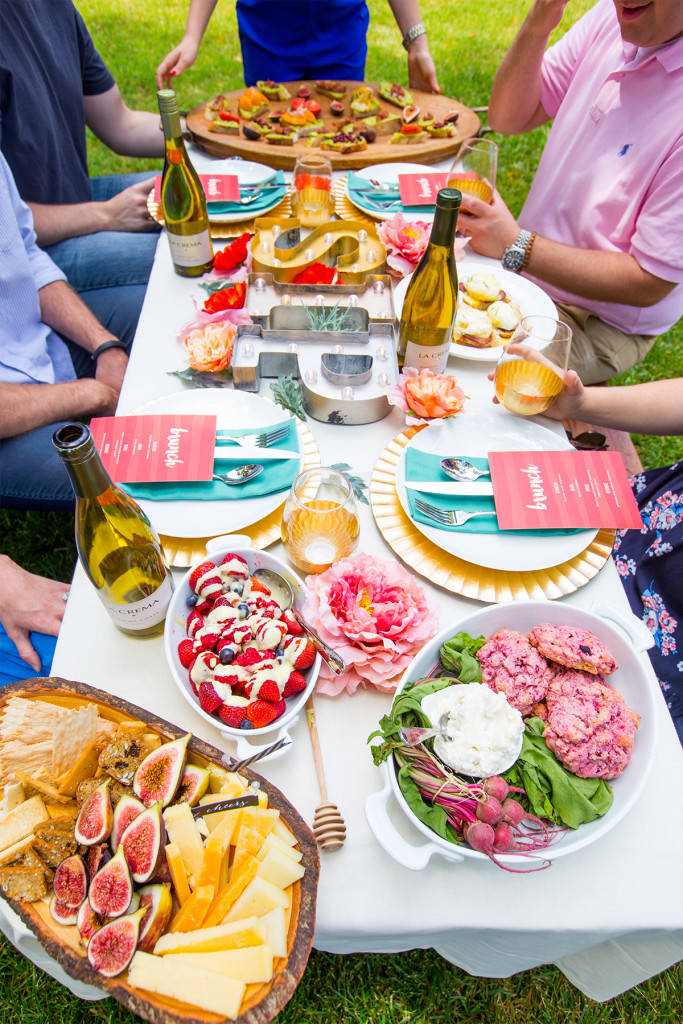
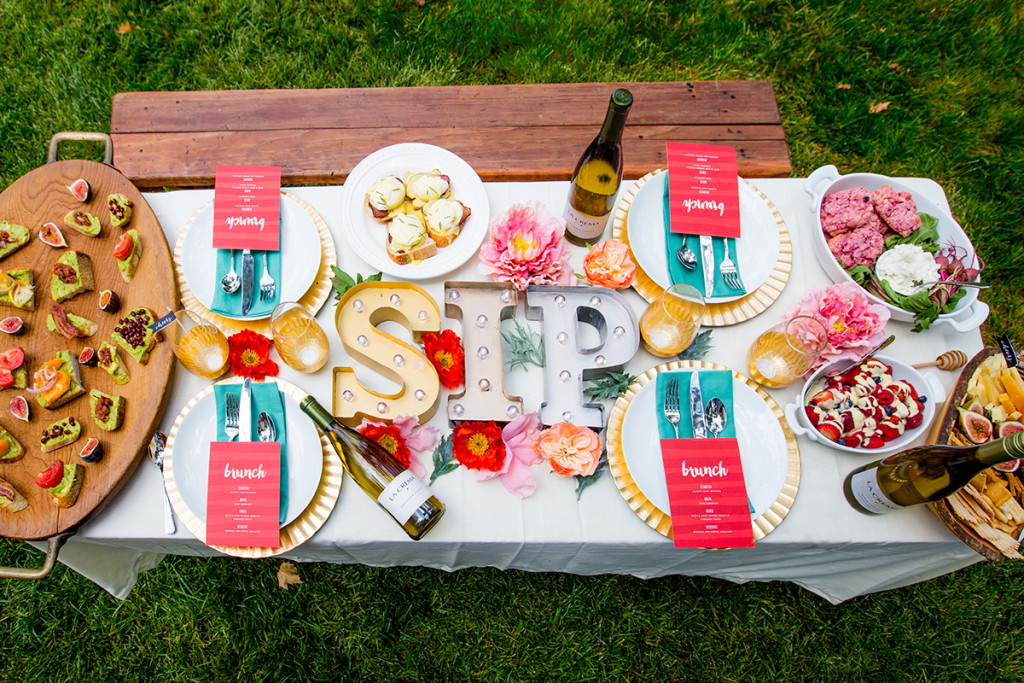
These metal marquee lights were a perfect addition to our Farm-to-Table Wine Tasting Brunch Party decor — elegant, but simple and easy to set up! I placed them in the middle of the table around our wines and all of the delicious dishes we served. It went with the rest of our party décor perfectly.
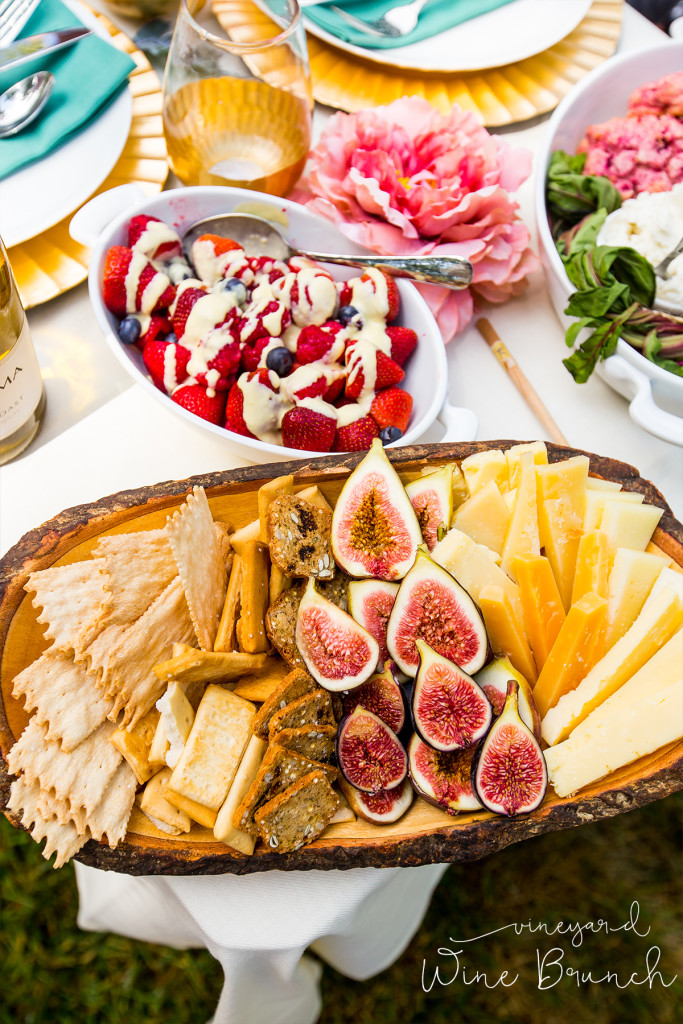
For more on our Farm-to-Table Wine Tasting Brunch Party, and full recipes, be sure to visit the rest of the posts in this series:
Decorating for an Outdoor Brunch Party
Mastering the Art of a Perfect Cheese Platter



Comments